You can grow nutrient-dense microgreens at home in just a week by choosing quick-growing varieties like radish, mustard, or sunflower. Use shallow trays, quality soil or seed-starting mix, and LED grow lights to create ideal conditions. Keep the environment warm, maintain consistent moisture, and guarantee good airflow. When ready to harvest, snip at the base for fresh, healthy greens. Stay tuned for tips to optimize your microgreen-growing journey and achieve the best results.
Key Takeaways
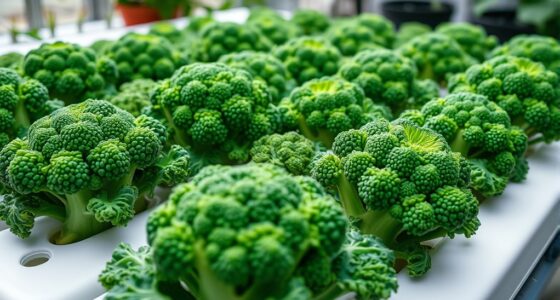
- Choose fast-growing, nutrient-rich microgreens like radish, broccoli, or kale suited for indoor conditions.
- Prepare well-draining containers with quality soil or coco coir, amended for optimal pH and nutrients.
- Maintain consistent light (12-16 hours daily) using grow lights and proper watering to promote healthy, dense greens.
- Harvest microgreens at 1-2 inches tall with true leaves, then rinse, dry, and store in the refrigerator for maximum freshness.
- Regularly monitor for pests and mold, adjust airflow, and optimize environmental conditions to ensure nutrient-dense growth within a week.
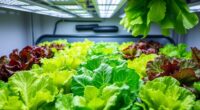
Choosing the Right Microgreen Varieties for Your Home Garden
When selecting microgreens for your home garden, it’s important to contemplate your taste preferences, available space, and growing conditions. Microgreen flavor profiles vary widely, from spicy radish to mild basil, so choose varieties that suit your palate. Consider the microgreen nutritional benefits as well—many, like kale and broccoli, pack a punch of vitamins and antioxidants in a tiny package. If you prefer a bit of heat, arugula or mustard greens might be perfect. For milder flavors, try basil or sunflower shoots. Additionally, think about how much sunlight and space you have, as some microgreens grow faster and more vigorously than others. Selecting the right varieties ensures you’ll enjoy fresh, flavorful greens while maximizing their health benefits in your home garden. Incorporating organic farming methods can also improve the overall quality and sustainability of your microgreen production.
Essential Supplies and Equipment for Growing Microgreens Indoors
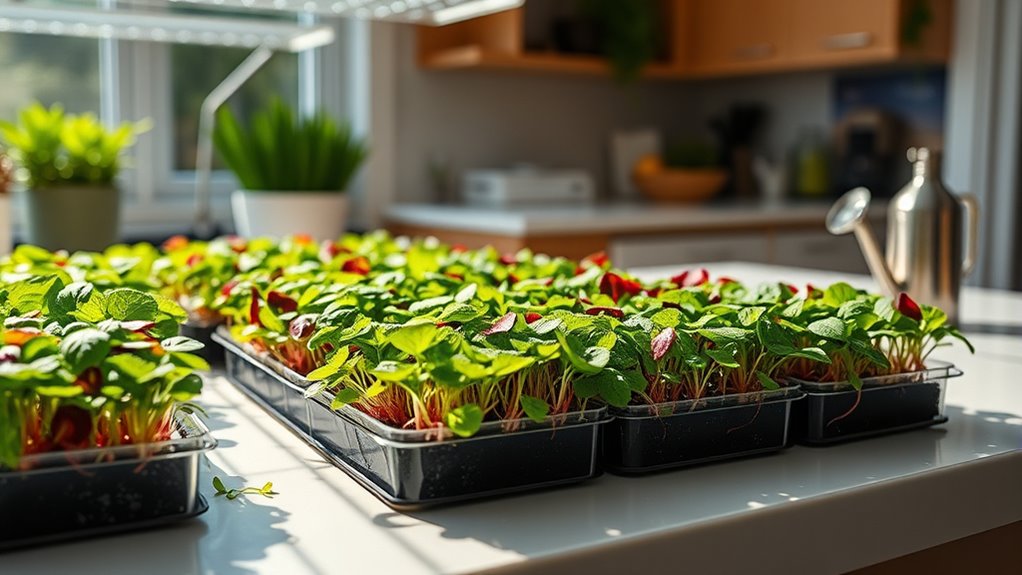
To grow microgreens successfully indoors, you’ll need the right containers and trays to hold your seeds and soil. Choosing the appropriate growing medium and lighting setup is essential for healthy growth, while efficient watering tools keep your microgreens thriving. Getting these supplies in order sets a solid foundation for a productive indoor microgreens garden. Additionally, selecting suitable lighting options can significantly impact the growth rate and nutrient density of your microgreens.
Growing Containers and Trays
Choosing the right growing containers and trays is essential for successful microgreen cultivation indoors. Ensure your trays have proper container drainage to prevent excess water from pooling, which can cause root rot. Good drainage allows excess moisture to escape, promoting healthy root development. When selecting tray sizes, opt for shallow, shallow-width options that fit comfortably on your available space and provide enough surface area for your microgreens to grow evenly. Standard trays are typically 10×20 inches, but smaller sizes can work for limited spaces or testing new varieties. Avoid deep containers, as microgreens don’t need much soil or medium volume. The right combination of tray size and proper drainage creates an ideal environment for your microgreens to thrive and develop quickly.
Growing Medium Options
Selecting the right growing medium is crucial for healthy microgreen development. You have several options beyond traditional soil. First, soil alternatives like coco coir or peat moss provide good drainage and moisture retention. Second, hydroponic mediums such as coconut fiber mats or rockwool are excellent for soil-free setups, offering consistent nutrient delivery. Third, you can also use specialized seed-starting mixes that combine organic matter with inert materials for prime growth. These options allow you to customize your microgreen setup based on space, budget, and preference. Hydroponic mediums eliminate the need for soil altogether, reducing mess and pests. Meanwhile, soil alternatives and seed-starting mixes are great for beginners and those who prefer a more traditional approach. Additionally, understanding effective fraud prevention tools can help protect your microgreen business from potential threats. Choose the medium that best fits your indoor growing environment for healthy, nutrient-dense microgreens.
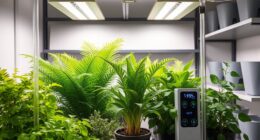
Lighting and Watering Tools
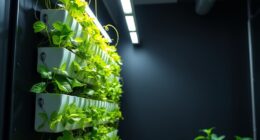
Proper lighting and watering tools are key to making certain your microgreens thrive indoors. LED grow lights provide the bright, consistent light necessary for healthy growth, especially if your space lacks natural sunlight. Choose adjustable LED lights to customize intensity and duration, mimicking outdoor conditions. For watering, indoor watering systems streamline the process and prevent overwatering or underwatering. Automated systems deliver precise amounts of water directly to your microgreens, promoting uniform growth and reducing maintenance. Make certain your setup includes a timer for your LED lights to establish a reliable schedule. Combining efficient lighting with reliable watering tools creates an ideal environment for rapid, nutrient-dense microgreens. Investing in these essential supplies helps you grow healthy greens effortlessly, even in limited space. Additionally, integrating automation in business principles can enhance your microgreens setup by enabling smarter scheduling and resource management.
Preparing Your Growing Medium for Optimal Microgreen Growth
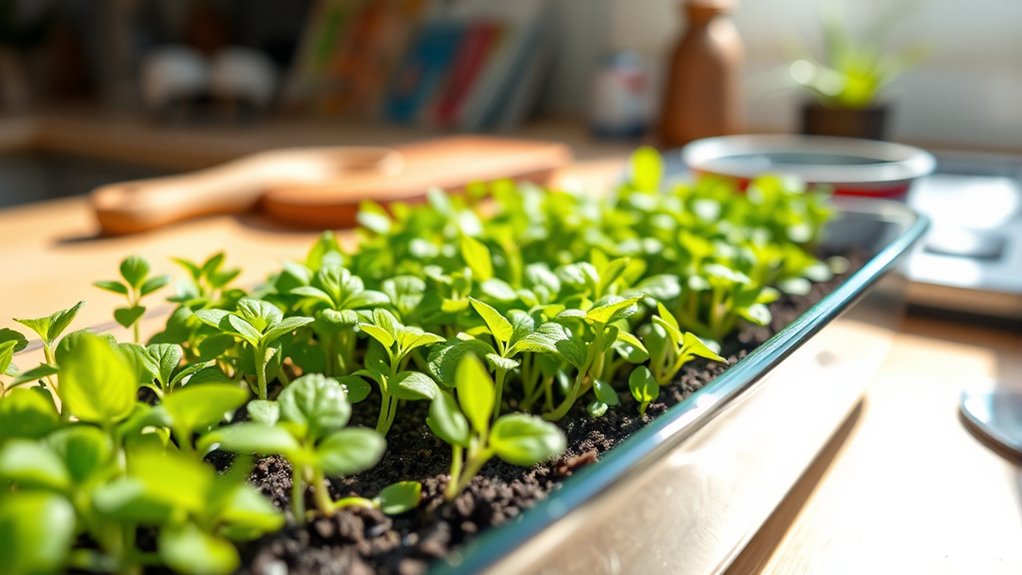
To guarantee your microgreens thrive, it’s essential to prepare a clean, well-draining growing medium. Start by choosing quality soil or a seed-starting mix. Then, consider these steps:
Ensure your microgreens thrive with clean, well-draining soil and proper amendments for optimal growth.
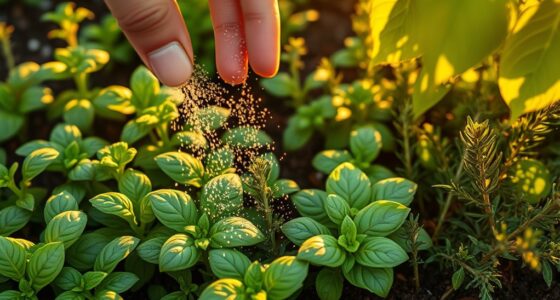
- Add soil amendments like compost or organic matter to boost nutrients.
- Adjust the pH balance to between 6.0 and 7.0, ensuring ideal nutrient absorption.
- Mix thoroughly to create an even, loose medium that drains well and prevents waterlogging.
- Be aware of soil quality standards to ensure your medium is free from contaminants and suitable for microgreen growth.
Proper soil amendments improve fertility, while maintaining the right pH balance promotes healthy root development. Avoid using overly dense or contaminated soil, which can hinder growth. By preparing your medium carefully, you set a strong foundation for vibrant, nutrient-dense microgreens in just a week.
Step-by-Step Guide to Planting Microgreens at Home
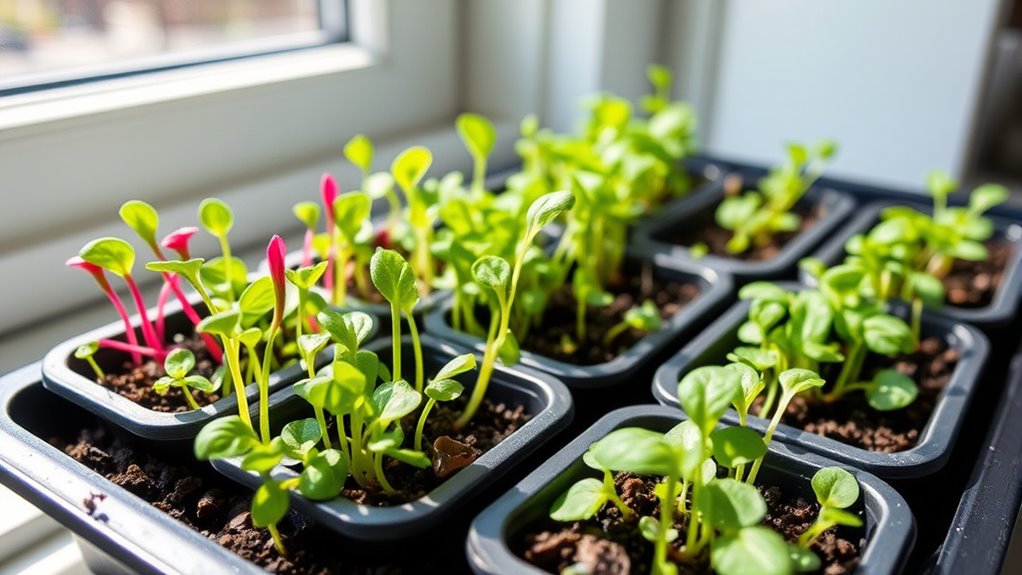
To start planting microgreens at home, you need to choose the right seeds for your taste and growing conditions. Then, select suitable containers and prepare them with a proper growing medium. Finally, guarantee your microgreens get the right light, water, and temperature to thrive. Incorporating community engagement by sharing your progress with fellow growers can also enhance your experience and inspire new ideas.
Select Your Microgreen Seeds
Choosing the right microgreen seeds sets the foundation for a successful harvest. When selecting seeds, focus on quality and freshness to guarantee good germination. Consider these key points:
- Seed Selection: Pick seeds labeled specifically for microgreens; they’re often cleaner and more viable.
- Germination Tips: Use seeds known for quick sprouting, like radish or broccoli, and check if they require soaking beforehand.
- Source Reliability: Purchase from trusted suppliers to avoid contamination and ensure healthy growth.
- Seed Viability: Ensure the seeds are stored in cool, dry conditions to maintain their seed viability and maximize germination rates.
Prepare Growing Containers
Once you’ve selected your microgreen seeds, the next step is preparing your growing containers. Choose containers with proper container drainage to prevent excess water from pooling, which can cause root rot. Make certain your container has drainage holes or add a layer of gravel at the bottom for better water flow. Select a soil compatibility by using a fine, nutrient-rich potting mix designed for seedlings or microgreens. Avoid heavy or clay soils that retain too much moisture. Clean your containers thoroughly before use to prevent disease. If you’re reusing containers, wash them with soap and water. Fill your container with soil, leaving about an inch of space from the top. Level the soil surface gently, ready for sowing your microgreen seeds. Proper drainage is essential for preventing spoilage and ensuring healthy microgreen growth.
Maintain Optimal Growing Conditions
Ensuring your microgreens thrive requires maintaining the right growing conditions from the start. First, focus on soil health by using fresh, nutrient-rich soil and ensuring proper drainage. Second, keep the environment consistently humid and well-lit, ideally with indirect sunlight or grow lights. Third, stay vigilant with pest management—inspect regularly and remove any pests promptly to prevent infestations. To optimize growth, avoid overwatering, which can harm soil health and promote mold. Maintaining a clean growing area also reduces pests and disease risks. Keep your microgreens in a stable temperature around 65-75°F. Additionally, selecting appropriate growing equipment can enhance control over growing conditions. By balancing soil health, light, and pest management, you create an ideal environment for quick, healthy microgreen growth.
Caring for Your Microgreens: Light, Water, and Temperature Tips
Proper care is essential to help your microgreens thrive, and this starts with providing the right light, water, and temperature. Ensure your lighting setup offers bright, indirect light for at least 12-16 hours daily. Stick to a consistent watering schedule—watering when the soil feels dry to the touch—avoiding overwatering that can cause mold. Keep the temperature between 60-75°F to promote healthy growth. Use the table below to understand how these factors interact:
| Light | Watering | Temperature |
|---|---|---|
| Bright, indirect | When soil feels dry | 60-75°F |
| 12-16 hours daily | Avoid overwatering | Consistent warmth |
| Avoid direct sun | Prevent mold | No drafts |
| Use grow lights | Use a spray bottle | Maintain airflow |
Additionally, maintaining proper air circulation helps prevent mold and promotes healthy microgreen development.
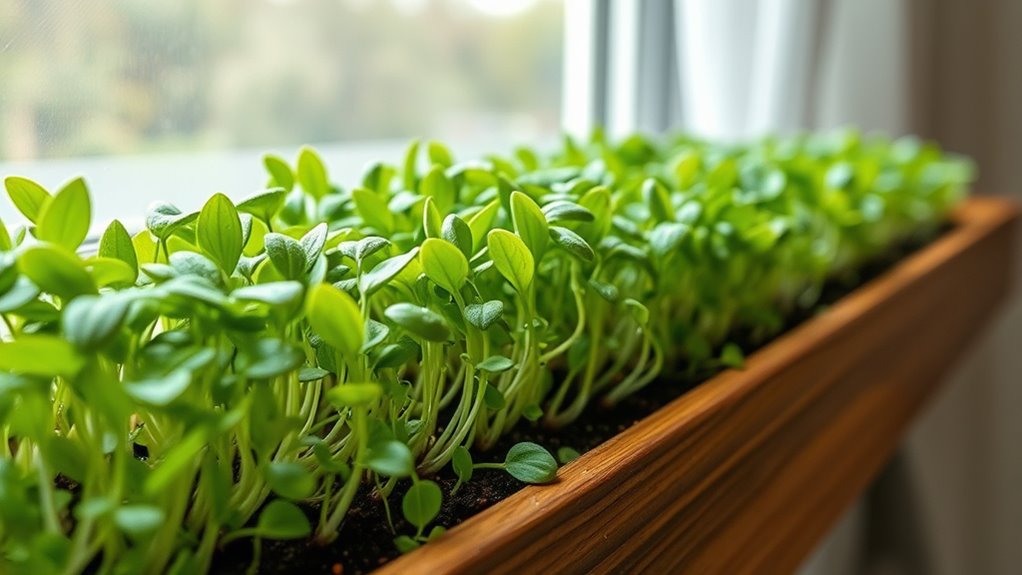
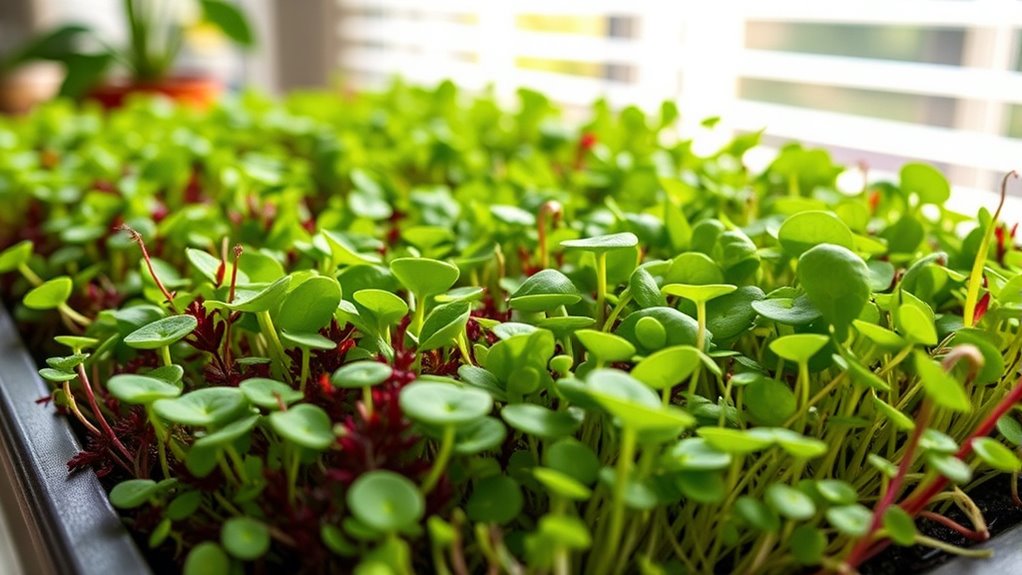
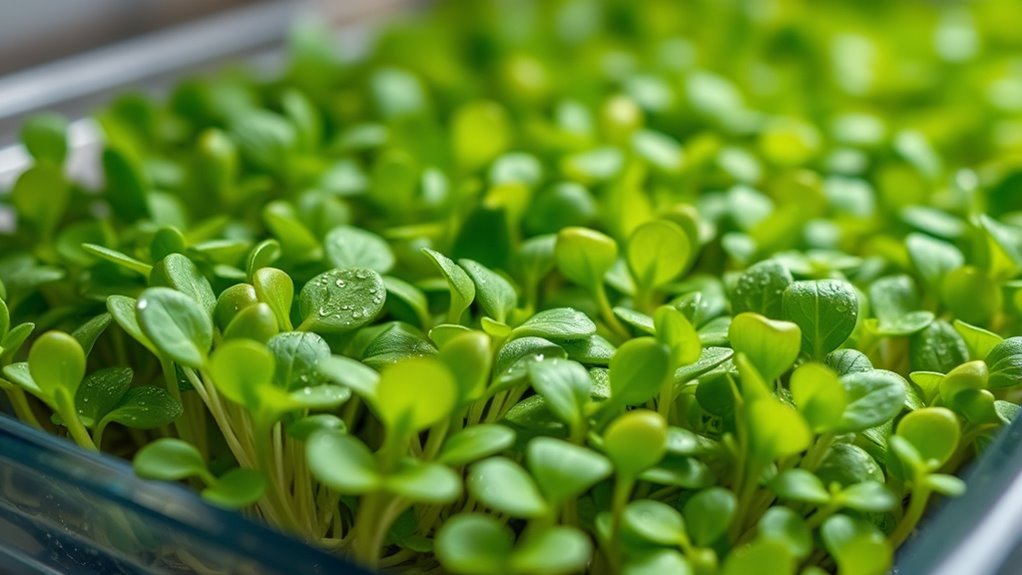
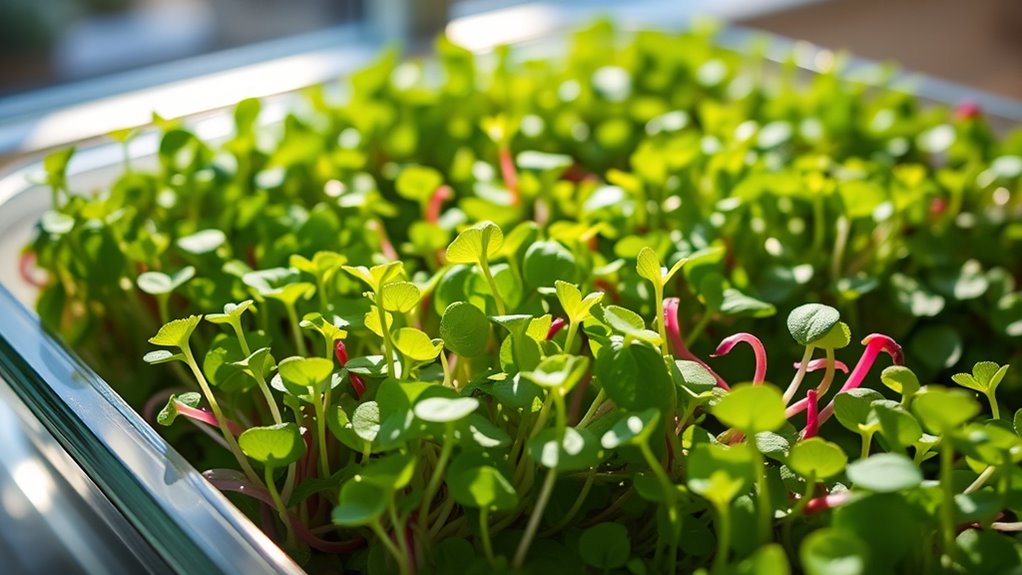
Harvesting and Storing Your Fresh Microgreens
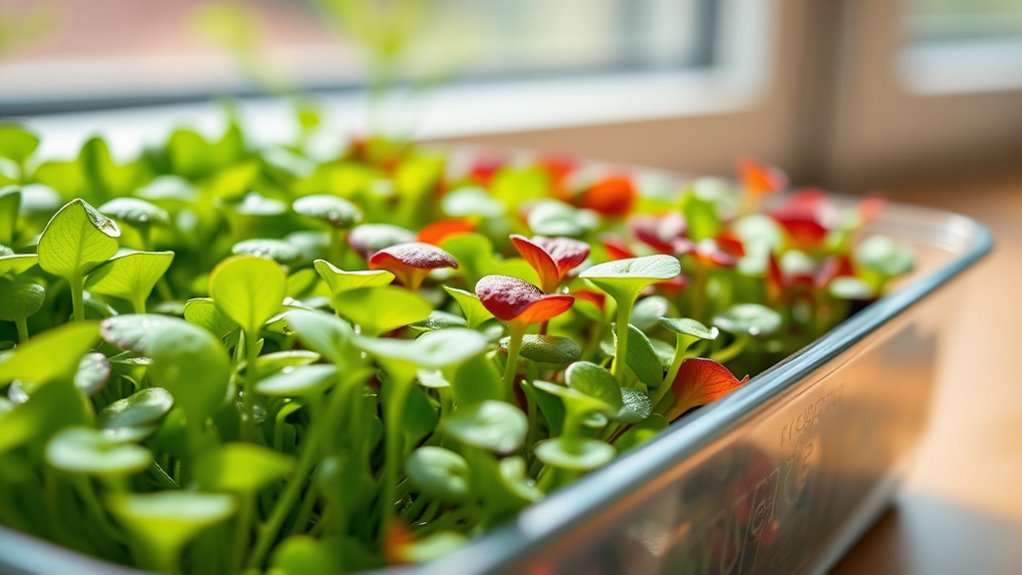
When your microgreens reach about 1-2 inches tall and have developed their first true leaves, it’s time to harvest. Use sharp scissors or a clean knife for precise harvesting techniques. To maximize freshness, follow these steps:
- Cut just above the soil line to avoid dirt.
- Gently gather the greens into a bunch for even harvesting.
- Rinse lightly with cool water, then pat dry with a paper towel.
- For optimal nutrient retention, consider proper storage methods to keep your microgreens fresh longer.
Storing microgreens properly keeps them fresh longer. Place them in an airtight container or a plastic bag with a damp paper towel inside to maintain humidity. Keep the container in the refrigerator’s crisper drawer. Proper harvesting techniques and storing microgreens correctly ensure your greens stay vibrant and nutrient-rich for days.
Creative Ways to Incorporate Microgreens Into Your Meals
Microgreens add a vibrant, fresh flavor to a variety of dishes and can easily elevate your everyday meals. Experiment with microgreen flavor combinations to create exciting culinary pairings—like spicy radish microgreens with creamy avocado or mild basil microgreens atop a Caprese salad. Toss microgreens into smoothies or sprinkle them over scrambled eggs for a nutrient boost. Use them as a colorful topping for sandwiches, burgers, or pizzas to add crunch and freshness. Incorporate microgreens into wraps or grain bowls for added texture and flavor. Their versatility means you can blend them into herb sauces or pesto for a punch of nutrition. By exploring different microgreen flavor combinations, you’ll discover new ways to enhance your dishes and make your meals more vibrant and nutritious.
Troubleshooting Common Microgreen Growing Challenges

Growing microgreens can sometimes be challenging, but understanding common issues can help you troubleshoot effectively. One frequent problem is pests, like aphids or fungus gnats, which can damage your greens. To combat this, try natural solutions like neem oil or sticky traps. Mold prevention is also essential; excess moisture can lead to mold growth. To avoid this, ensure proper airflow and avoid overwatering. Here are key steps to troubleshoot common problems:
- Inspect your microgreens regularly for pests and remove affected plants promptly.
- Maintain consistent watering, allowing the soil to dry slightly between waterings.
- Improve airflow by using a fan or spacing your trays to prevent mold development.
- Using proper air circulation techniques can significantly reduce the risk of mold and other issues.
Frequently Asked Questions
How Long Does It Typically Take for Microgreens to Reach Harvest Size?
You’ll find that microgreens generally reach harvest size in about 7 to 14 days, depending on the growth rate and variety. The harvest timing varies based on conditions like light, temperature, and seed type. Keep an eye on their size; they’re ready when they’re about 1-3 inches tall with their first true leaves. With proper care, you’ll enjoy fresh greens in just a week or two.
Can I Grow Microgreens Without Using Soil or Traditional Growing Media?
Yes, you can grow microgreens without soil by using hydroponic methods or alternative growing media like coconut coir, peat pellets, or grow mats. These options provide the necessary support and nutrients without traditional soil. You simply place your seeds on or in these media, keep them moist, and guarantee proper light. This approach makes growing microgreens cleaner, faster, and more controlled, perfect for small spaces or indoor setups.
What Are the Best Lighting Conditions for Optimal Microgreen Growth Indoors?
For ideal microgreen growth indoors, you want bright, consistent lighting. LED lighting is suitable because it provides the right spectrum and energy efficiency, ensuring healthy growth. Place your microgreens near a window to get natural sunlight, ideally 4-6 hours daily, or supplement with LED grow lights if sunlight is limited. Keep the light close but not too close to prevent leaf scorch, and adjust as your microgreens grow.
Are There Any Microgreens That Are Safe for Pets to Consume?
You might wonder if any microgreens are safe for your pets. Some pet safe microgreens, like sunflower, pea shoots, and radish, are pet friendly greens that you can share with your furry friends. Always make certain they’re grown without harmful chemicals. Before offering microgreens to your pets regularly, check with your vet to confirm they’re suitable. These pet friendly greens can be a healthy treat for your animals.
How Can I Extend the Shelf Life of Harvested Microgreens?
Oh, because everyone loves fresh microgreens forever, right? To extend their shelf life, you’ll want to master preservation techniques like gentle washing and proper drying. Store them in airtight storage containers with a paper towel to absorb excess moisture, preventing spoilage. Keep them in the fridge’s crisper drawer, ideally within a few days. These simple steps help your microgreens stay vibrant and fresh far longer—who knew freshness could be so easy?
Conclusion
Now that you know how easy it is to grow nutrient-rich microgreens at home, aren’t you excited to start your own mini garden? With just a little effort and the right supplies, you’ll enjoy fresh greens in as little as a week. Why wait for grocery store finds when you can harvest your own vibrant, healthy microgreens anytime? Get growing and transform your meals with this simple, rewarding process!