To build a countertop garden that grows real food, start by choosing compact, indoor-friendly seeds like herbs, lettuce, or microgreens suited to your space and light. Select containers with drainage and use high-quality potting mix. Place your garden near a south-facing window and consider grow lights for extra brightness. Keep plants well-watered, monitor their health, and harvest regularly for fresh flavor. Explore this guide further to turn your countertop into a thriving edible oasis.
Key Takeaways
- Select compact, edible plants suited for indoor growth, such as herbs, lettuce, and microgreens, matching your space and light conditions.
- Use well-draining containers filled with nutrient-rich potting mix to support healthy root development.
- Place your garden near a south-facing window or supplement with grow lights to ensure adequate sunlight.
- Maintain consistent watering, monitor plant health, and prevent pests naturally to promote robust growth.
- Harvest greens regularly at peak ripeness and practice crop rotation for sustainable, continuous fresh salads.

Ahopegarden Indoor Garden Hydroponics Growing System: 10 Pods Plant Germination Kit Herb Vegetable Growth Lamp Countertop with LED Grow Light – Hydrophonic Planter Grower Harvest Lettuce
High planting efficiency: Start an indoor herb garden with the Ahopegarden hydroponic growing system, which includes a water…
As an affiliate, we earn on qualifying purchases.
As an affiliate, we earn on qualifying purchases.
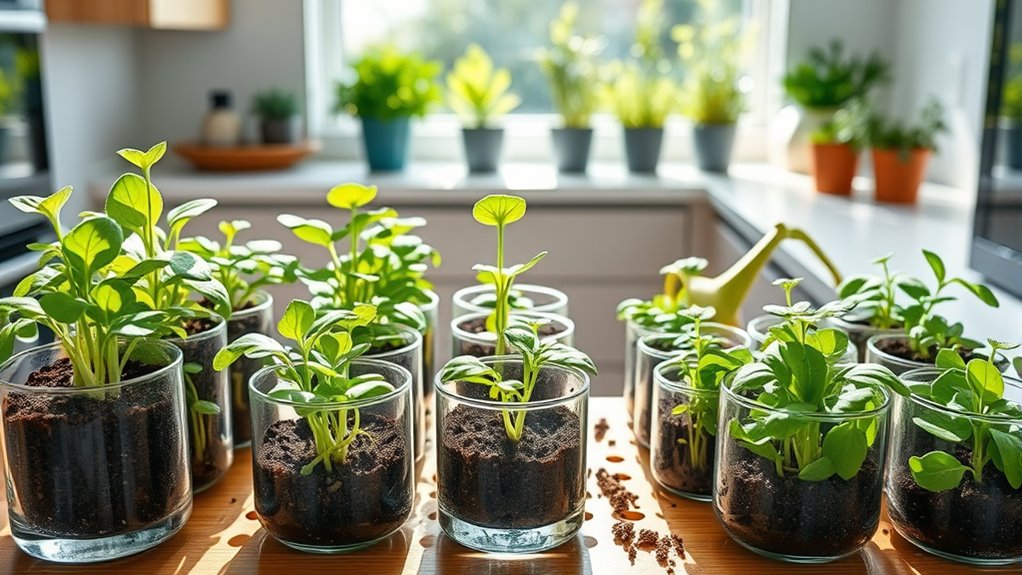
Choosing the Right Seeds for Your Countertop Garden
Choosing the right seeds is essential for a successful countertop garden. Start with seed selection that matches your space and climate. Consider plants that grow well indoors and thrive in limited light, such as herbs, lettuce, or microgreens. Focus on plant compatibility; some plants grow better together and won’t compete for space or nutrients. For example, basil pairs well with tomatoes, while herbs like parsley can coexist with leafy greens. Avoid overcrowding by selecting compact varieties suited for containers. Research each seed’s growth requirements, including watering and light needs, to ensure they thrive together. Understanding plant compatibility and how different species interact can help optimize your garden’s health and productivity. Proper seed selection and understanding plant compatibility will set a strong foundation for a vibrant, productive kitchen garden.
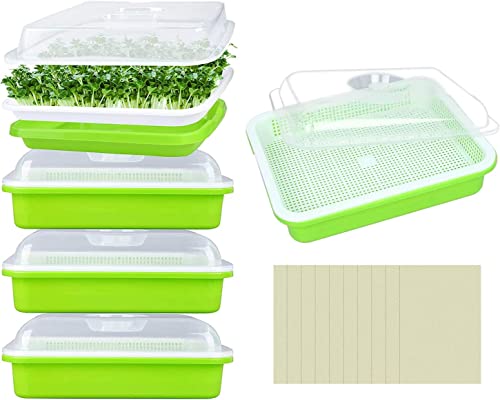
Legigo 5 Pack Seed Sprouter Trays with Lids- Soil-Free Cultivation Germination Tray, BPA Free Micro Greens Growing Trays Seed Sprouting Trays Kit with Germinating Paper for Wheatgrass, Beans and More
Microgreens Growing Trays: You will receive 5 pcs seed starter tray, comes with 10 planting papers, the size…
As an affiliate, we earn on qualifying purchases.
As an affiliate, we earn on qualifying purchases.
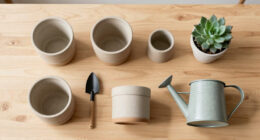
Selecting the Perfect Container and Growing Medium
Selecting the right container and growing medium is essential for your countertop garden’s success, as they directly impact plant health and growth. When choosing a container, consider styles like shallow trays, pots, or vertical planters that fit your space and provide good drainage. The container’s size should match your plant’s needs to prevent overcrowding or root binding. For the growing medium, soil choice is key; opt for a high-quality, lightweight potting mix designed for container gardening. Avoid garden soil, which can be too dense and prone to compaction. A suitable medium promotes proper aeration, moisture retention, and nutrient availability. Additionally, incorporating natural materials into your container setup can enhance the rustic charm of your farmhouse-inspired space. By selecting containers with adequate drainage and a nutritious soil mix, you set a strong foundation for healthy, productive plants on your countertop.
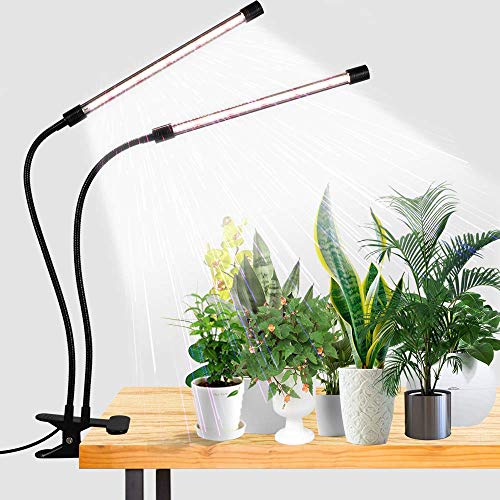
GooingTop LED Grow Light,6000K Full Spectrum Clip Plant Growing Lamp with White Red LEDs for Indoor Plants,5-Level Dimmable,Auto On Off Timing 4 8 12Hrs
6000K White Light – equipped with 10 Red + 74 White LEDs, this growing Lamp is similar to…
As an affiliate, we earn on qualifying purchases.
As an affiliate, we earn on qualifying purchases.
Finding the Ideal Location and Light Conditions
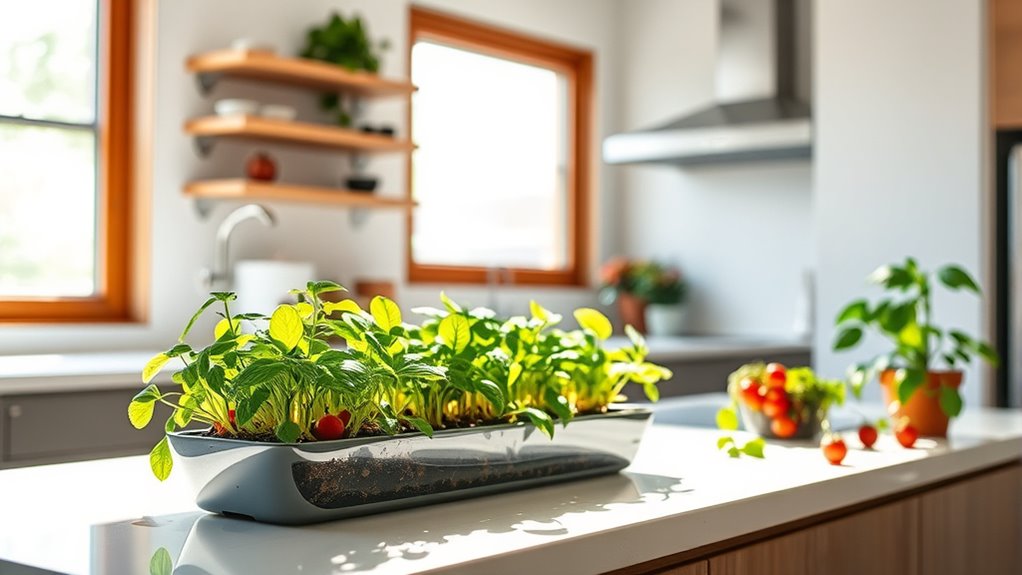
Finding the ideal location and light conditions is vital for your countertop garden’s success. You want a spot where your plants receive ample indoor sunlight, which is essential for healthy growth. Proper window placement helps maximize light exposure without overheating or causing drafts. Consider these tips:
Choose a sunny spot near a south-facing window for healthy, thriving countertop garden plants.
- Place your garden near a south-facing window for consistent sunlight.
- Avoid windows that block light with heavy curtains or blinds.
- Rotate containers weekly to ensure even light distribution.
- Keep plants away from cold drafts or direct heat sources.
- Use supplemental grow lights if natural light is insufficient during winter months.
- Choosing the right spot with adequate light makes all the difference in how your plants thrive and how quickly they grow. Make sure your plants get enough light daily for robust, flavorful results.

Indoor Garden Planter Growing Systems Soil plant pot indoor Small Smart Soil Gardening System with 17 Watts LED Grow Light Auto Timer Self-Watering Planter Pot Gifts for Mom Women (No Seeds&Soil)
EFFICIENT & INTELLIGENT: LED Grow Lights are a better alternative to sunlight in terms of stability and planting…
As an affiliate, we earn on qualifying purchases.
As an affiliate, we earn on qualifying purchases.
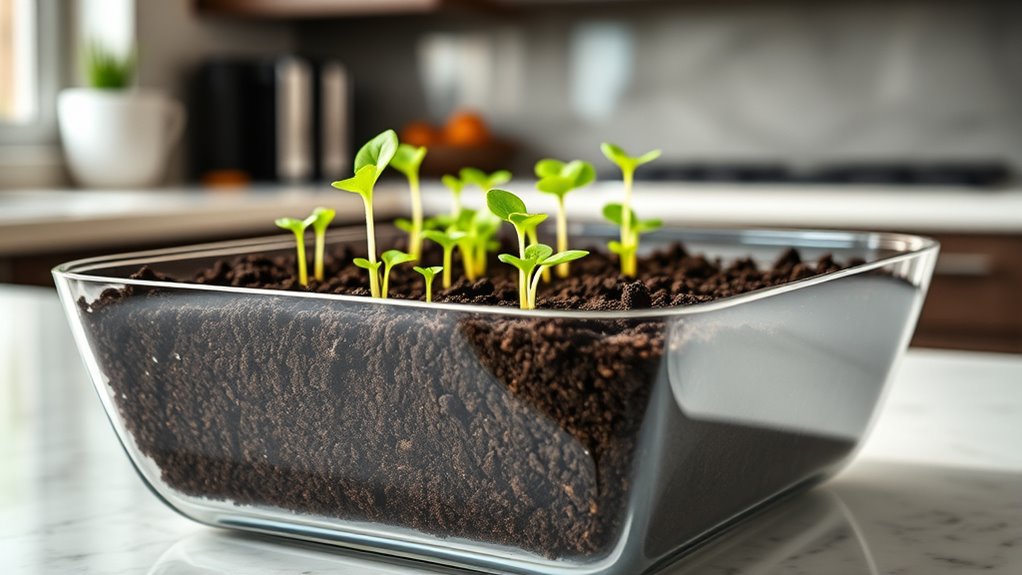
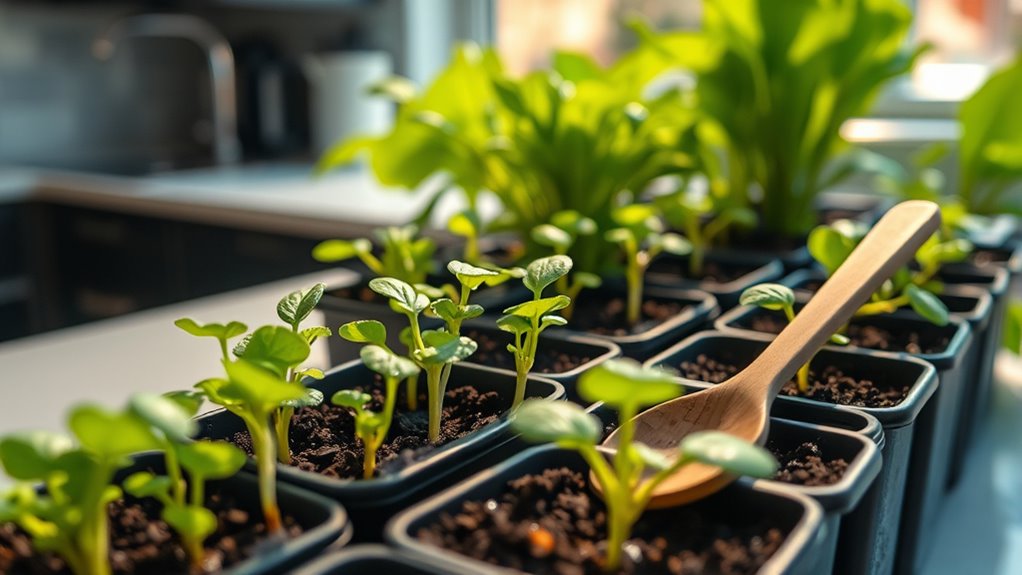
Building a Simple Setup for Your Mini Garden
Setting up a simple mini garden doesn’t have to be complicated; with just a few basic materials, you can create an efficient and attractive space for your plants. Start with a sturdy container or tray that fits your countertop. Use quality potting soil, and consider incorporating composting techniques—like adding kitchen scraps or compostable materials—to enrich your soil naturally. To keep everything organized, add small labels or decorative stones. For garden decor ideas, choose colorful pots, hanging planters, or plant stands that complement your space. Keep the setup clean and accessible, making it easy to water and tend your plants. Proper soil preparation is essential for healthy plant growth and maximizing your mini garden’s productivity. With this straightforward approach, your mini garden will be both functional and visually appealing, setting a great foundation for growing fresh, healthy food indoors.
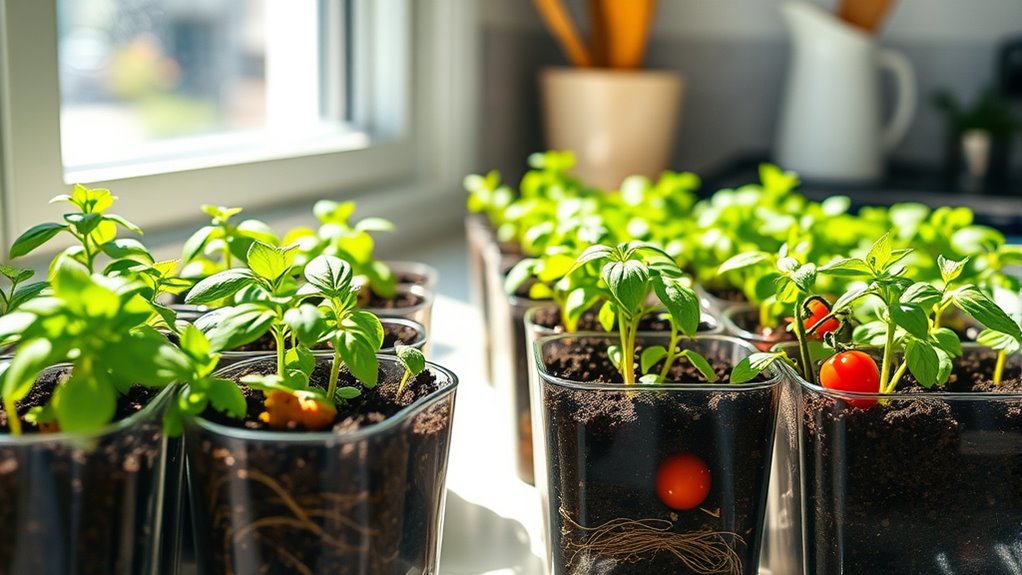
Planting and Caring for Your Seedlings
Choosing the right seeds is key to starting a healthy garden, so pick varieties suited for your space and climate. Once your seedlings sprout, consistent watering and proper maintenance will help them flourish. Keep an eye on their needs to ensure your countertop garden grows strong and productive. Using appropriate watering techniques is also essential to prevent overwatering or underwatering, promoting healthy plant growth.
Selecting Suitable Seeds
Selecting suitable seeds is essential for a successful countertop garden, as different plants have specific needs and growth requirements. To maximize your chances, consider seed diversity and choose varieties compatible with limited space. Look for seeds labeled for indoor or container growing, which are often easier to germinate. Use effective germination techniques, like providing consistent warmth and moisture, to boost sprouting success. When selecting seeds, think about your taste preferences and nutritional goals. Also, check the seed packet for information on harvest time and growth habits. By choosing the right seeds, you’ll set a solid foundation for healthy plants that thrive in your small space. Remember, experimenting with different varieties can keep your garden interesting and rewarding. Incorporating automation technologies into your gardening process, such as automated watering systems, can further enhance your success.
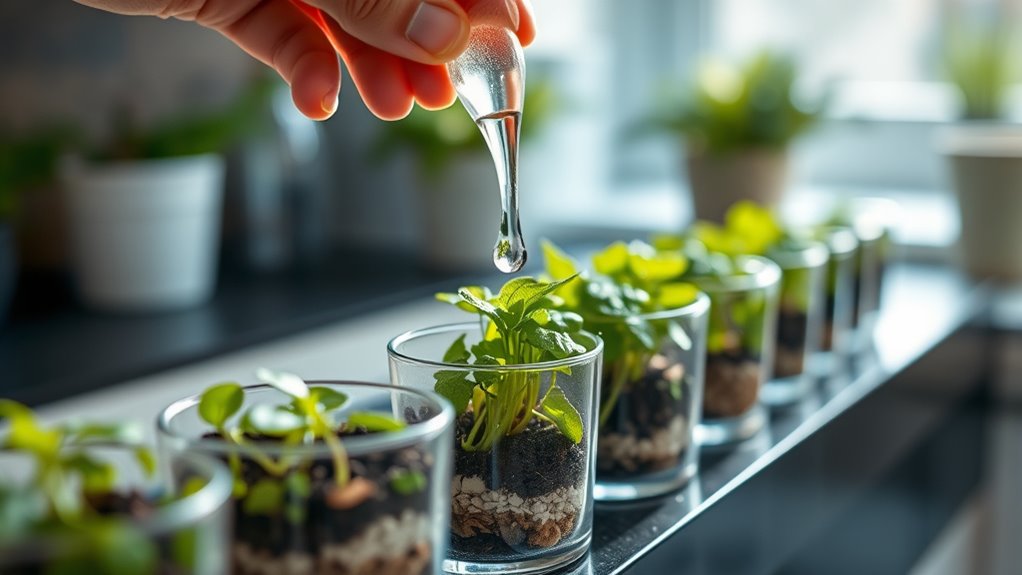
Watering and Maintenance
Once you’ve sowed your seeds, proper watering and ongoing maintenance are key to helping your seedlings thrive. You should water consistently, adjusting the watering frequency based on your plant’s needs and the moisture level of the soil. Keep the soil moist but not waterlogged, as overwatering can lead to root rot. Check soil nutrients regularly, since healthy soil is essential for strong growth. If nutrients decline, consider adding a balanced, organic fertilizer to support development. Keep an eye on your seedlings for signs of stress, such as wilting or discoloration, and respond promptly. Maintaining a clean environment and monitoring watering habits will ensure your plants stay healthy, grow steadily, and produce a bountiful, delicious harvest. Incorporating proper soil care can further enhance plant health and yield.
Watering and Maintaining Your Indoor Garden
To keep your indoor garden thriving, you need a consistent watering schedule that satisfies your plants’ needs. Regularly check their leaves and soil to spot any signs of over- or under-watering. Staying attentive ensures your plants stay healthy and productive. Using a moisture meter can help monitor soil conditions more accurately for optimal watering.
Consistent Watering Schedule
Maintaining a consistent watering schedule is essential for keeping your indoor garden healthy and productive. A steady watering routine helps you maintain ideal moisture levels, preventing overwatering or underwatering. When you stick to a schedule, your plants develop strong roots and avoid stress.
Consider these tips:
- Check moisture levels regularly with your finger or a moisture meter
- Water when the top inch of soil feels dry
- Use room temperature water to avoid shocking plants
- Keep watering at the same time each day or every few days
- Adjust based on the season or plant needs
Monitoring Plant Health
Regularly monitoring your plant health helps guarantee your indoor garden stays vigorous and productive. Check your plants daily for signs of plant disease, such as spots, discoloration, or wilting. Early detection allows you to address issues before they spread. Also, watch for nutrient deficiencies, which can cause yellowing leaves, stunted growth, or poor fruit development. Ensuring your plants get the right balance of water and nutrients is key to preventing problems. Adjust watering schedules if you notice overwatering or underwatering, and consider supplementing with appropriate fertilizers if deficiencies appear. Keeping a close eye on your plants’ appearance and behavior helps you maintain a healthy, thriving garden that produces fresh, delicious food. Monitoring plant health is essential for catching issues early and ensuring your garden remains productive.
Managing Pests and Disease Prevention
Since pests and diseases can quickly threaten the health of your garden, it’s essential to stay vigilant and take proactive steps to manage them. Effective pest control and disease prevention start with regular inspection. Keep your workspace clean, removing fallen leaves and debris that attract pests. Use natural remedies like neem oil or insecticidal soap to deter pests without chemicals. Ensure proper airflow around your plants to reduce humidity, which can promote disease. Rotate your crops if possible, and avoid overcrowding to minimize disease spread. Regularly check for early signs of trouble and act immediately. Staying attentive and practicing these habits will help your countertop garden stay healthy and productive.
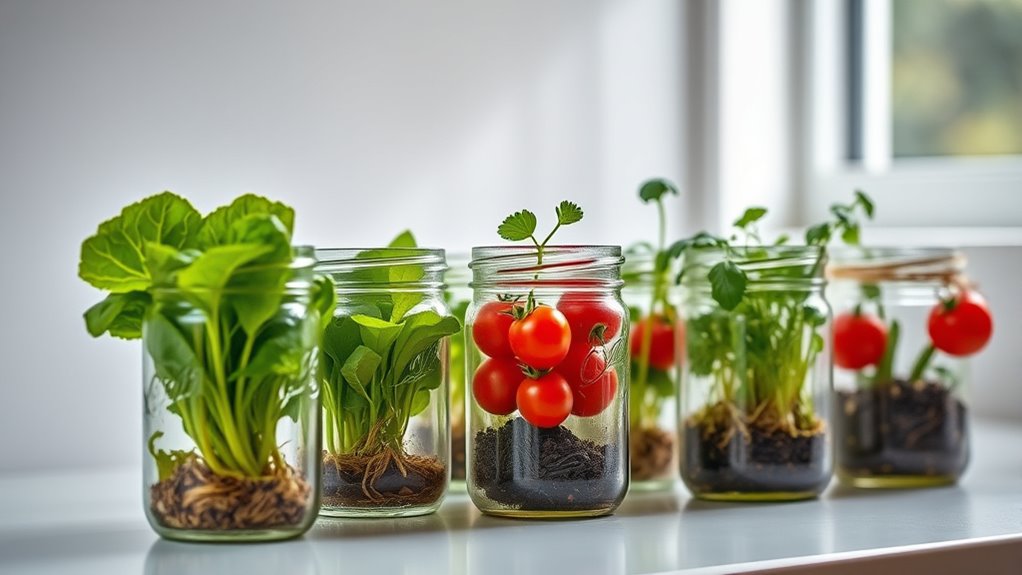
Harvesting Your Fresh Greens and Vegetables
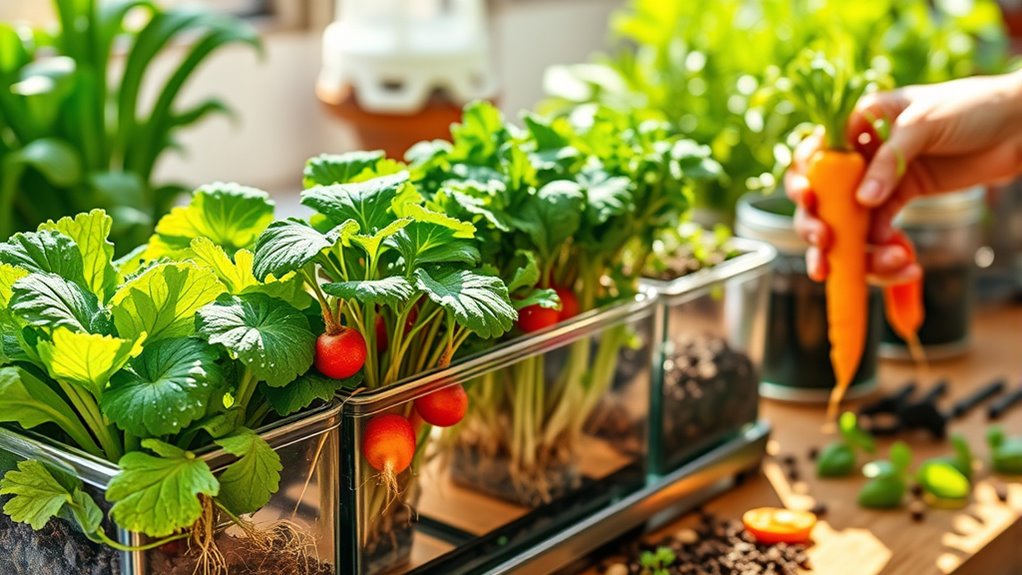
Once your greens and vegetables have matured and are ready for harvest, it’s time to pick them at their peak freshness. Use sharp scissors or your hands to gently snip leaves or roots, ensuring you don’t damage the plant. Regular harvesting encourages new growth and maintains plant health. After harvesting, consider composting techniques to recycle plant scraps, enriching your soil for future crops. Practicing crop rotation helps prevent soil depletion and reduces pest buildup, ensuring your garden remains productive. Be mindful of plant maturity to avoid overharvesting, which can weaken your garden’s overall health. Additionally, monitoring the safety features of your active gardening tools and accessories can prevent accidents and promote a safer gardening experience. By harvesting thoughtfully and maintaining soil vibrancy through composting and crop rotation, you’ll keep your countertop garden thriving and producing fresh, delicious greens and vegetables.
Troubleshooting Common Growing Challenges

If your seeds aren’t germinating well, it might be due to insufficient moisture or temperature issues. Pests can also threaten your plants, so keep an eye out for bites or holes. Addressing these problems quickly helps guarantee your countertop garden stays healthy and productive. Incorporating professional equipment can help ensure optimal conditions for your plants and improve overall success.
Addressing Poor Germination Rates
Poor germination rates can be frustrating, but understanding the common causes helps you troubleshoot effectively. First, check seed viability—use fresh seeds to guarantee they haven’t lost their ability to sprout. Next, review your germination techniques; proper moisture, temperature, and light are essential. If conditions are off, seeds may fail to sprout. Also, make sure you’re planting at the correct depth and spacing for each seed type. Sometimes, inconsistent watering or overly dry soil can hinder germination. Finally, avoid using contaminated soil or seed trays, which can introduce diseases. By paying attention to these factors, you improve your chances of successful germination. Remember, small adjustments often lead to better results, bringing your countertop garden closer to thriving from seed to salad. Additionally, monitoring your cookie preferences can enhance your overall browsing experience and ensure you receive relevant gardening tips and updates.
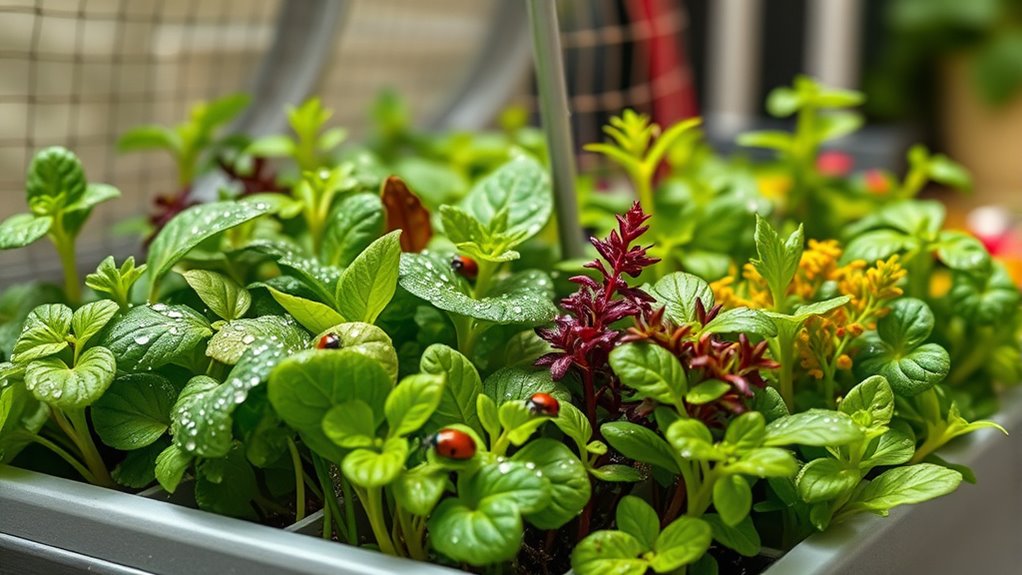
Managing Pest Intrusions
Are pests threatening your countertop garden’s health? If you notice holes in leaves or tiny insects, it’s time to act. Start by introducing natural predators like ladybugs or beneficial nematodes to control pests naturally. These predators help reduce infestations without harmful chemicals. You can also apply organic sprays, such as neem oil or insecticidal soap, to target pests safely and effectively. Regular inspection is key—catch problems early before they spread. Keep your plants healthy with proper watering and good airflow, which makes your garden less inviting to pests. If you spot pests, remove affected leaves and treat the area promptly. Managing pest intrusions with natural predators and organic sprays helps ensure your countertop garden thrives and produces healthy, delicious food. Additionally, understanding pest management strategies can further help protect your plants from recurring issues.
Tips for Expanding and Maximizing Your Garden Space
To make the most of your countertop garden, focus on clever space-saving techniques and strategic planning. Use vertical planters or stackable containers to maximize limited space. Incorporate composting techniques like small compost bins to recycle kitchen scraps efficiently. Save seeds from your best plants to grow future crops, reducing the need for buying new seeds. Rotate crops to prevent soil depletion and optimize growth. Consider compact varieties suited for small spaces to boost yield. Additionally, using sustainable gardening practices can help ensure your garden remains healthy and eco-friendly over time.
Frequently Asked Questions
How Long Does It Take for Seeds to Produce Edible Greens?
Seed germination typically occurs within 3 to 7 days, depending on the type of greens you’re growing. Once germinated, you can expect harvest timing around 2 to 3 weeks for tender, edible greens like lettuce or spinach. Keep your environment warm and moist to accelerate seed germination, and monitor plant growth to ensure a timely harvest for fresh, nutritious greens straight from your countertop garden.
Can I Grow Herbs Alongside Vegetables in My Countertop Garden?
Yes, you can absolutely grow herbs alongside vegetables in your countertop garden. Companion planting helps improve pest management and boosts plant health, so choose herbs like basil, mint, or parsley that complement your vegetables. Mixing them encourages natural pest control and enhances growth, creating a thriving mini-ecosystem. Just make certain they have enough space and light, and you’ll enjoy fresh herbs and veggies right from your countertop.
What Are Eco-Friendly Methods for Fertilizing Indoor Plants?
You can use eco-friendly methods like composting techniques to fertilize your indoor plants naturally. Start by composting kitchen scraps to create rich organic fertilizers that boost plant health without chemicals. You might also use liquid organic fertilizers like fish emulsion or seaweed extract, which are sustainable and effective. These methods help you nourish your indoor garden while minimizing environmental impact, ensuring your plants thrive responsibly.
How Do I Prevent Mold and Mildew in My Indoor Garden?
Think of your indoor garden as a vibrant forest; to keep mold and mildew at bay, you need good airflow like a breeze rustling through leaves. Improve air circulation with fans or open windows regularly, and control moisture by watering carefully—avoid overwatering and wipe down damp surfaces. These steps prevent excess humidity, allowing your green sanctuary to thrive free from mold and mildew’s unwelcome shadow.
Are There Low-Maintenance Plants Suitable for Busy Schedules?
You want low-maintenance plants for your busy schedule, so consider succulent varieties and air purifying plants. Succulents thrive on minimal watering and care, making them perfect for a hectic lifestyle. Air purifying plants like snake plants or pothos are hardy and only need occasional attention. Both options help keep your indoor space fresh while requiring little effort, so you can enjoy greenery without the hassle.
Conclusion
Now you’re the architect of your own green oasis, turning a tiny countertop into a lush, edible paradise. With each seed you plant and every leaf you nurture, you’re crafting a living mosaic of fresh flavors and vibrant life. Keep tending, experimenting, and dreaming big, because your miniature garden isn’t just a space—it’s a blossoming story of growth right at your fingertips. Let your home be the canvas, and your garden, the masterpiece.